|
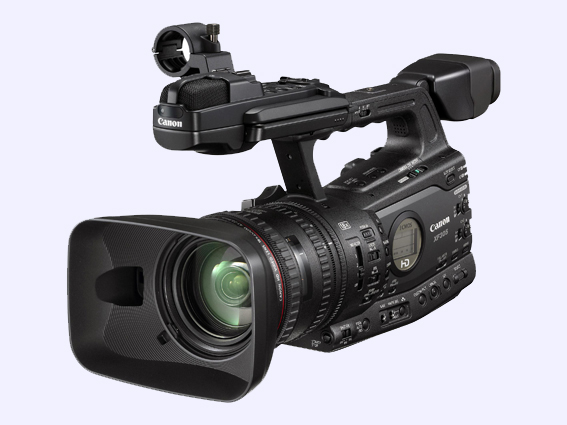
| urbanfox.tv > camera workbooks > Canon XF300 and XF305 > Part 1: Focus |
ON THIS PAGE: Auto focus In need of some Canon XF305 and XF300
camera training? We offer |
|
AUTO FOCUS If you do not use face detection it will focus on what is in the centre of the screen. THE TROUBLE WITH AUTO FOCUS ... is that it generally doesn't work well under the following conditions:
FACE DETECTION
If you point the camera at someone you should see a white box appear around their head. Even if they move around the camera will track them. If you intend to use this feature a lot I recommend you set this function to an assign button (see below). That way you will be able to easily switch it on and off. WHAT IF THERE IS MORE THAT ONE PERSON? If there is more than one person in the shot the main face (ie largest or nearest to the camera) will have the white box. The other faces will have grey boxes around their heads. If you want to change focus priority to one of the other faces you will have to assign one of the assign buttons to SELECT FACE.
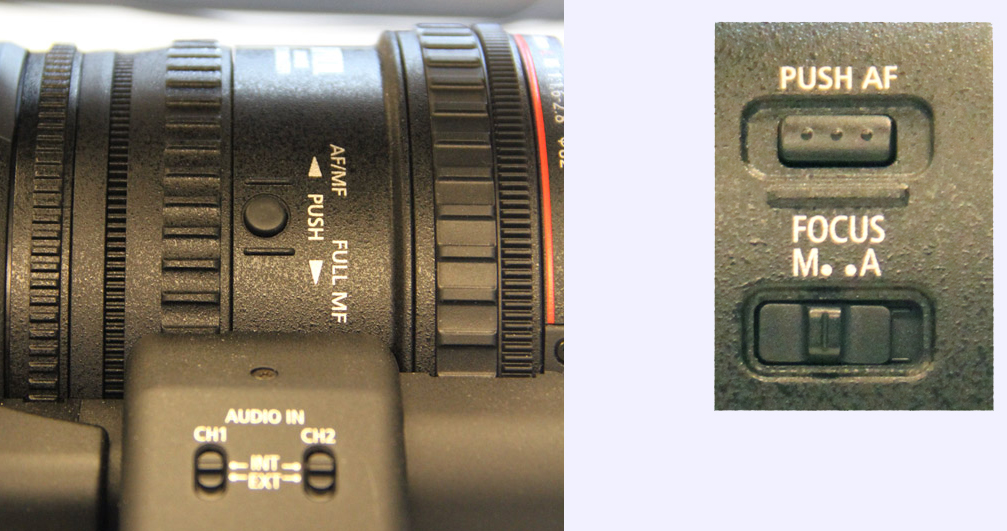
With button 8 you will be able to switch face detection on and off. While button 9 can be used to set which face is the most important in the shot. As you press button 9 you'll see the grey box turn white - so that this becomes the priority face and the camera will keep focus on that person. This could be very useful if you are doing an interview with two people and want to focus pull from one person to the other as they speak. MANUAL FOCUS METHOD 1
METHOD 2
This mode gives more certainty in focusing as the focus ring has definite end stops and a marked range finder that tells you the focus distance (useful if you want to use the markings for focus pulling). But, the PUSH AF button will not work in full manual mode. |
|
TO CHECK THE SHOT IS IN FOCUS 1.) The PUSH AF button. This switches the camera to Auto Focus while you push it. The best way to make use of it is to zoom in as close as you can to the point of interest (eg your interviewee's face). Press the PUSH AF button to find focus. Once you see the image is in focus, stop pushing and then frame your shot. 2.) The MAGN button (assign buttons 6 and 7). The camera will zoom the picture in (ie magnify it) to help you check focus. 3.) PEAKING works by emphasising sharp edges by giving them a little added zing in the viewfinder or LCD screen. Peaking clings to sharp edges to emphasise they are in focus. The peaking on/off function is assigned to button 2 - but you can reassign it to another button if you prefer. You may also want to change the way peaking looks.
Stay in the LCD/VF SETUP menu
Peaking comes in four colours (red, blue, white or yellow). I recommend you set peaking to RED as it makes it easier to see.
|
|
|
|
|
|
|